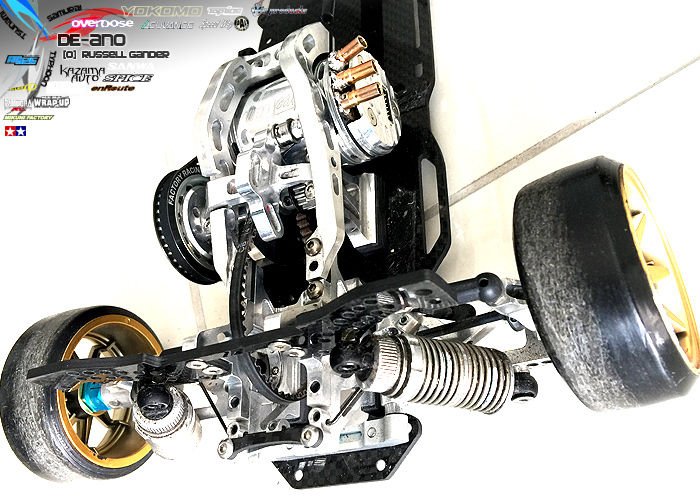
Do you need bling? You ought to have patience. Here's an academic on the way to de-anodise and varnish.

In the pinnacle photograph my diff became blue... So to in shape I must de-anodise and polish.
De-anodise is easy. Oven Cleaner is your friend

DO THIS OUTSIDE. FUMES ARE DANGEROUS>

Anodizing involves a dye that is etch bonded onto the alloy , The chemicals help to disolve the dye. But they are aggressive so can also attack the metal.

run under water will remove most of the chemicals for status check.
Attempt 1... Not quite there. So re-do the process.

Paintings quickly and re-clean in layers. Not quite.

Sooner or later, you get a bit oxidization. This is not perfect however with this cheapo method, truly unavoidable.

So there you go... 5 mins... More like ten minutes while doing it in layers.
So that is the end of the first step. Remember to wash thouroghly and clean.

Part 2. Polishing.
Requires a dremel, buff pads and some polish. I use this Auto Glym one

Polishing... this is where an hour can disappear quickly. The key is to use lot's of polish and let the polish work. The buffing pads are not for pushing hard against anything. they are just there to glide over the top and push the polish around.

I'm starting out like this,

You can see how wet the serface is. If the steel piece is getting warm. You have. Too much rpm, no longer enough polish or an excessive amount of strain.

After a few packages, you get a shine coming thru. I actually have now not pressed hard in any respect.

Spread it around and preserve going

The longer you work it, (WITH POLISH) you get better results. Never use the pads at the dry component, they may certainly get warm and put on out.

So i assume thats a bit of an improvement.

Now how a long way do you move and does it really need to be perfect... The object on the right... It's no longer exquisite clean close to the centre.

But the entire piece is covered by using the bearing... Do it in case you want... But these pieces took approximately 30-40 mins. Time to rebuild the diff.
Have "FUN" ? Hmmm


Post a Comment
Post a Comment